These and VPN instructions for other devices can also be found on our VPN page
If you have upgraded from windows 10 and already had the GlobalProtect VPN installed, it will still be installed.
Multi-factor authentication
In order to sign into the VPN you will now need to use multi-factor authentication (MFA) using a Time-based One Time Password (TOTP) each time you log in. This involves being sent a code via a secure method to ensure that only you are able to sign in using your login details. These password are only usable for a limited time and you will probably be familiar with this method when signing into your bank or other websites.
If you have any issues connecting to the VPN please visit one of the IT desks around campus or contact us on +44(0)239284 7797 8.00am - 8.00pm Monday - Saturday.
Installing the VPN
- Please go to student.vpn.port.ac.uk
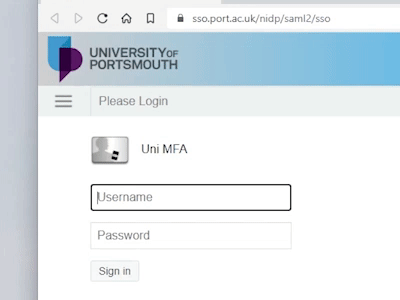
- Sign in with your student username and password
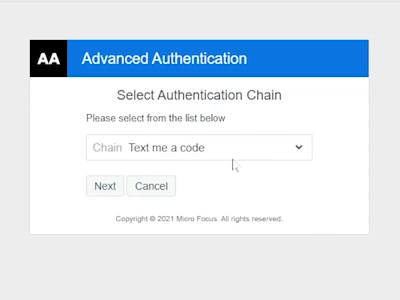
- You will be asked to enter a One-Time Authentication Code. This will be sent by default to the email address you provided when you registered with the University
- Type in this code and click Next
- You will be presented with download options, pick the one that matches your operating system, download and install it.
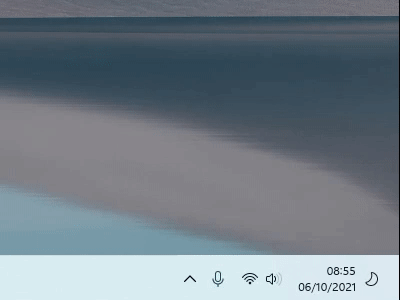
- Open the VPN from the icon tray, clicking the up arrow and selecting the globe icon.
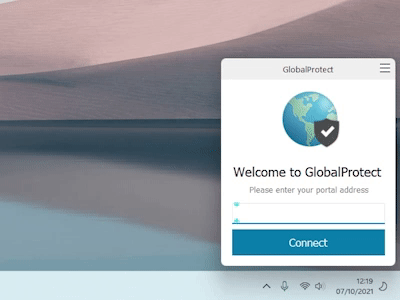
- When you first open the VPN you will be asked to enter a portal address. Enter student.vpn.port.ac.uk
- Go to Connect to the VPN.
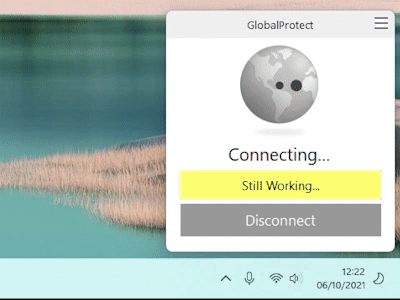
Connecting to the VPN
When you open the VPN for the first time after installing you will be asked to enter a portal address. Enter student.vpn.port.ac.uk
By default the VPN will open when the computer starts up. You can find it by clicking the up (^) arrow in your task bar and clicking the global protect icon. If not already in the taskbar the program might be closed, you can find it from the start menu by typing GlobalProtect.
Click Connect.

A web browser will open prompting you to log in. Use your University username and password e.g. up1234567.
You will be prompted for an one time athentication code, which by default will be sent to the personal email address you provided us when you registered with us. You can add additional ways to receive the code (e.g. text message) by logging into secure.port.ac.uk.
Enter the code and click Next
You will then see an authentication message, and the VPN will show as connected. You can disconnect from the same Icon in the taskbar.
Notes:
You may see another prompt from your browser asking permission for it to interact with the Global Protect VPN. Tick the box to always remember your decision then accept.
The VPN may update itself upon first connection, which will close and reopen the VPN, it will ask you to sign in again to connect.


Contact Information Services
C: Chat with us using the pop-up on the right of this page (during IS Service Desk core hours only)