Image

These instructions will help you connect to the Linux lab computers remotely, using either SSH or X2go connections from your Linux, Windows or Mac devices. If you only need a terminal connection into the lab, then you only need to follow the SSH instructions. If you would prefer to view the host PC graphically, then we recommend following the X2go instructions.
These instructions are ONLY for the standard Linux labs, and not specialist labs. (For assistance with connecting to the Networking Lab A2.NET, or the Cyber Security Lab please see your lecturer. If you are wanting to connect remotely to your project PC, then you will need to see your supervisor).
You will find the hostnames of the available PCs by expanding the list below.
| Anglesea 2.02 | Portland 2.27 | ||
|---|---|---|---|
| ampere | PO227PC01 | ||
| bell | PO227PC02 | ||
| bode | PO227PC03 | ||
| boole | PO227PC04 | ||
| bose | PO227PC05 | ||
| coulomb | PO227PC06 | ||
| dirac | PO227PC07 | ||
| doppler | PO227PC08 | ||
| edison | PO227PC09 | ||
| euler | PO227PC10 | ||
| fermi | PO227PC11 | ||
| henry | PO227PC12 | ||
| hertz | PO227PC13 | ||
| joule | PO227PC14 | ||
| laplace | PO227PC15 | ||
| marconi | PO227PC16 | ||
| maxwell | PO227PC17 | ||
| morse | PO227PC18 | ||
| napier | PO227PC19 | ||
| newton | PO227PC20 | ||
| norton | |||
SSH is a Secure Shell environment where you can connect to the host PC from your device via a terminal connection. There are various options you can include in your command - for example the -X option allows you to connect using an X11 display (eg. to run an application from the host PC locally on your device).
Select an operating system to view instructions on how to install and use SSH
In order to connect into the Linux system from a Windows device you will need to have some extra software which will allow remote access to a Linux X11 window graphics environment. We recommend using the successfully tested graphical application called Xming, along with access software such as Putty.
Agree to all the default options and create desktop / quick launch shortcut if desired.
NB: Xming may require a reboot, or to log out and log back in before it will work.
Agree to all the default options and create desktop / quick launch shortcut if desired.
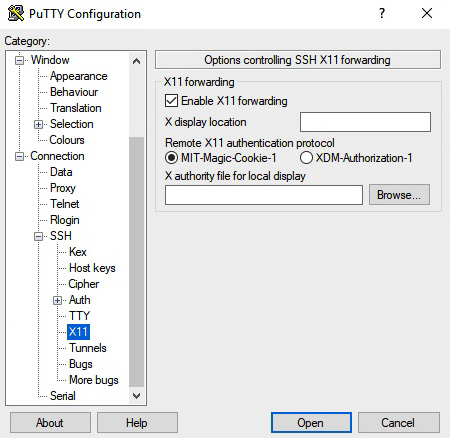

vim /etc/ssh/ssh_config
XAuthLocation /opt/X11/bin/xauth
ForwardAgent yes
ForwardX11 yes
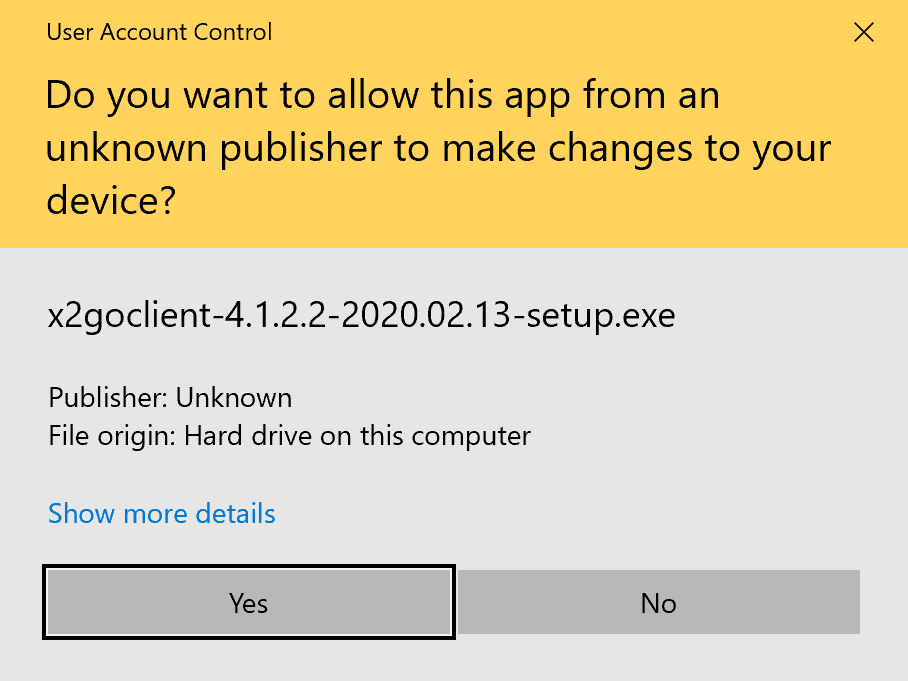
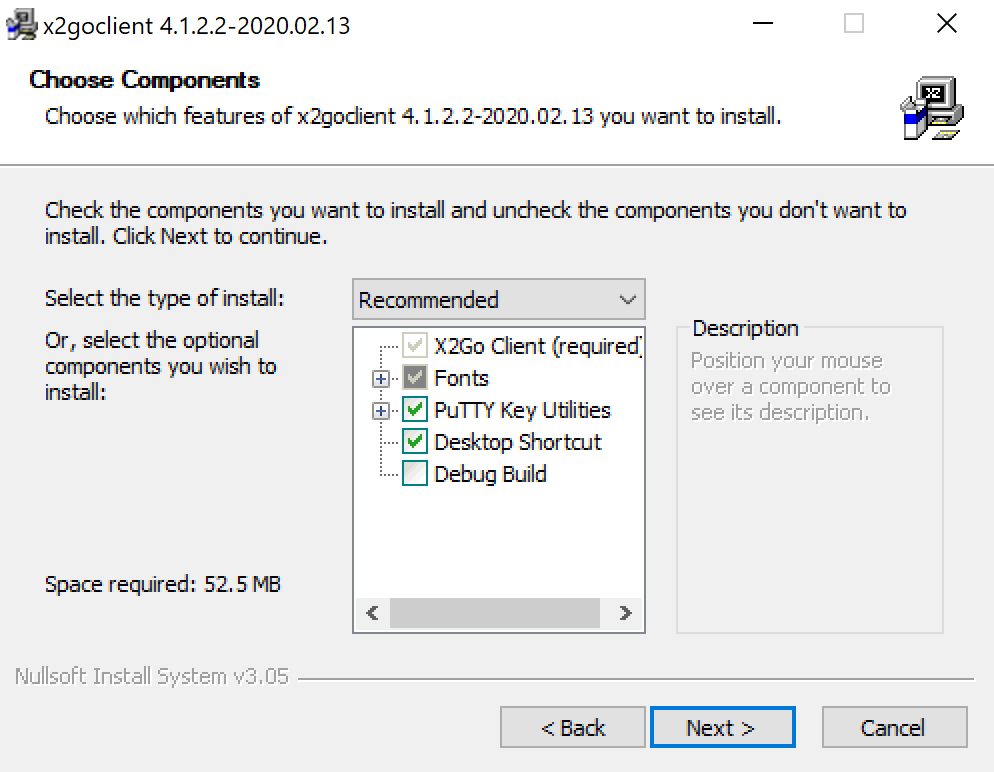
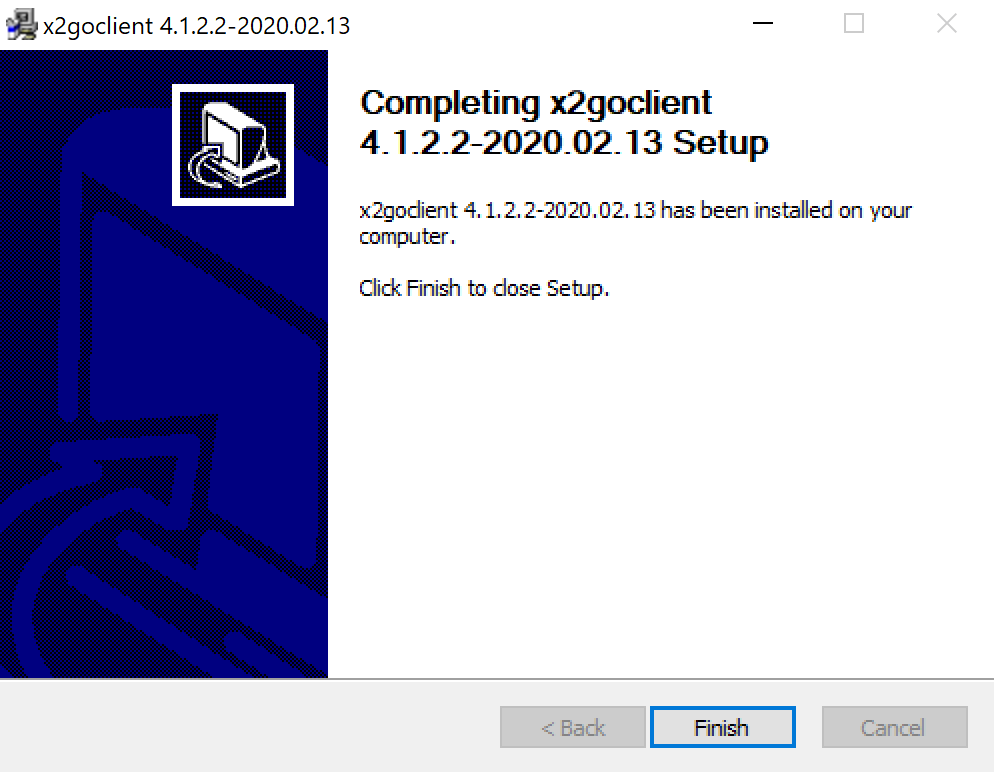
These instructions describe how to install X2Go software for a remote graphical desktop connection to the Linux lab computers.
This connection will allow you to run specialist software applications from a PC in one of the Linux labs on your own computer. This GUI method is an all-in-one facility, removing the need to have PuTTy or Xming installed. X2Go offers an easier and faster way to provide remote access to Linux PC’s, along with offering better performance. X2Go supports a multi-platform environment, including Linux, Windows and Mac operating systems.
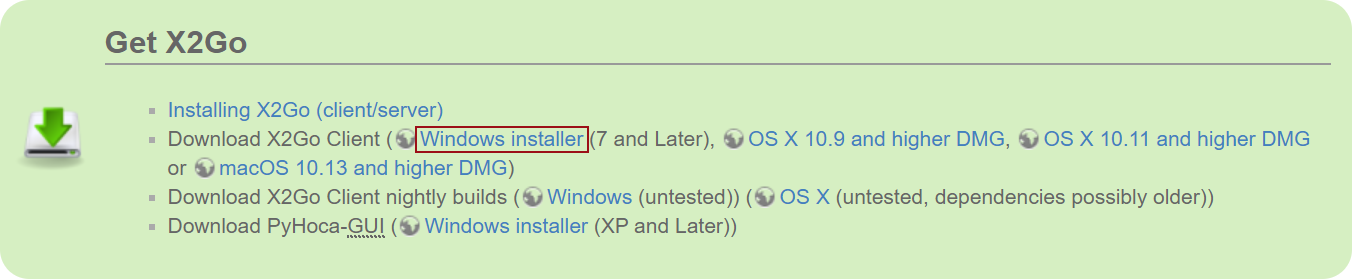
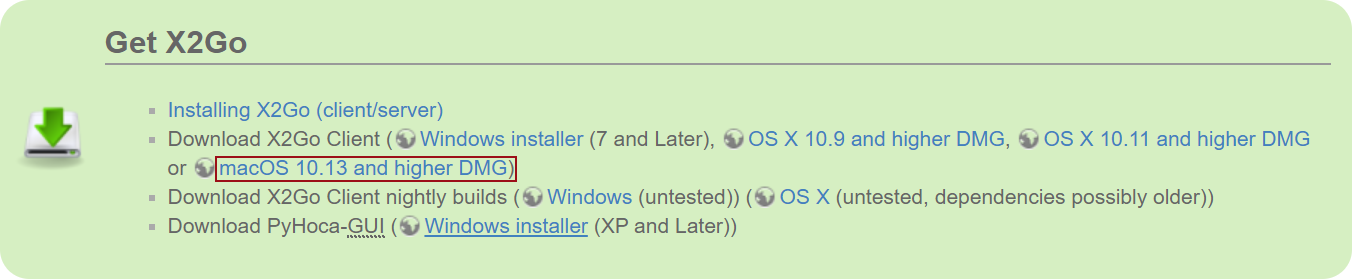
Select an operating system to view instructions on how to install X2go
dnf install epel-release -y
dnf install x2goclient x2goserver-xsession -y
or type: x2goclient from a terminal session
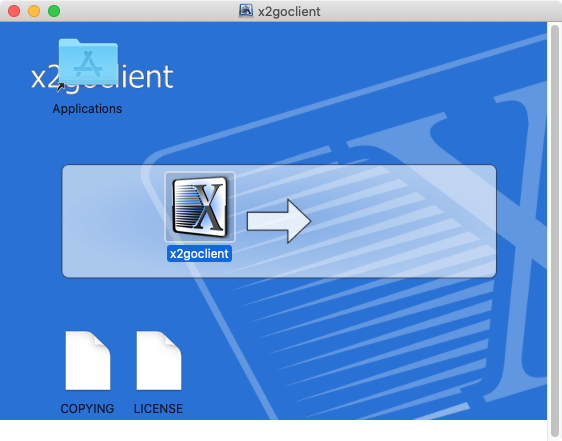
sudo apt install x2goclient -y
or type: x2goclient from a terminal session
![]()
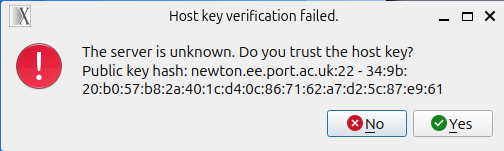
NB: Your device firewall may block some features by default. You may need to accept any notifications that appear.
After installing the X2go application on your device, the following instructions demonstrate how to connect to the host PC.
Select an operating system to view instructions on how to use X2go

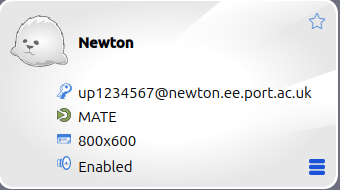
Session name: Newton
Host: newton.ee.port.ac.uk
Login: up123467
Session type: MATE
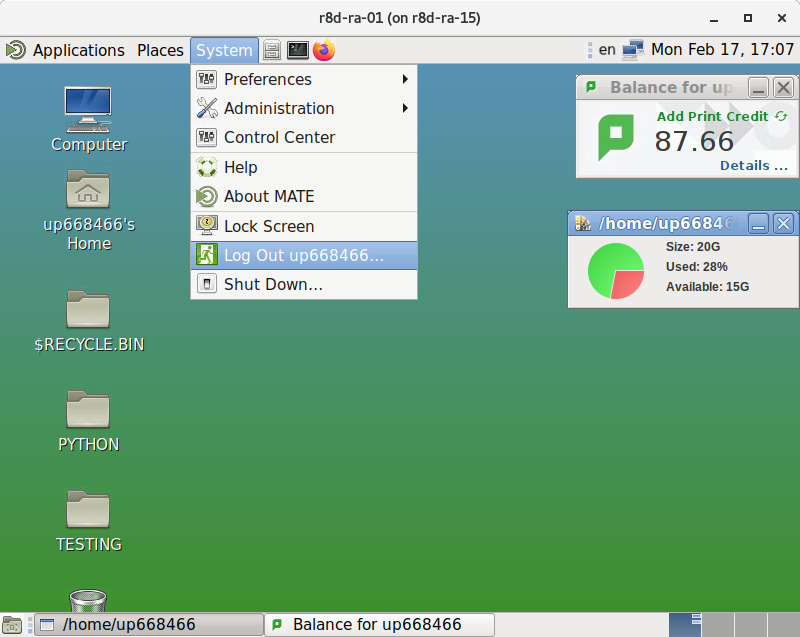
Your session should look similar to the following:

The session is now set up and available to use without having to complete this information each time. (NB: You will need to create a new session or alter this session preferences if you want to connect to another PC.)


Important: Please do not shut down the PC as this will prevent access for you and other students to be able to remotely access the lab PC. It is good practice to log out, rather than disconnect and helps to ensure you do not lose any work!

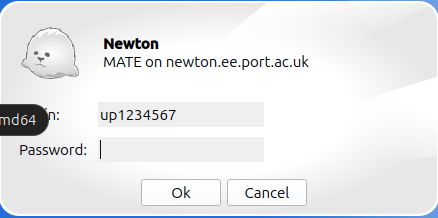
Session name: Newton
Host: newton.ee.port.ac.uk
Login: up1234567
Session type: MATE
Your session should look similar to the following:

The session is now set up and available to use without having to complete this information each time. (NB: You will need to create a new session or alter this session preferences if you want to connect to another PC.)


Important: Please do not shut down the PC as this will prevent access for you and other students to be able to remotely access the lab PC. It is good practice to log out, rather than disconnect and helps to ensure you do not lose any work!

Session name: Newton
Host: newton.ee.port.ac.uk
Login: up1234567
Session type: Mate
Your session should look similar to the following:

The session is now set up and available to use without having to complete this information each time. (NB: You will need to create a new session or alter this session preferences if you want to connect to another PC.)


Important: Please do not shut down the PC as this will prevent access for you and other students to be able to remotely access the lab PC. It is good practice to log out, rather than disconnect and helps to ensure you do not lose any work!
Session name: Newton
Host: newton.ee.port.ac.uk
Login: up1234657
Session type: MATE
Your session should look similar to the following:

The session is now set up and available to use without having to complete this information each time. (NB: You will need to create a new session or alter this session preferences if you want to connect to another PC.)
Important: Please do not shut down the PC as this will prevent access for you and other students to be able to remotely access the lab PC. It is good practice to log out, rather than disconnect and helps to ensure you do not lose any work!
Turn on notifications for critical updates like closures, safety alerts, and urgent service disruptions.